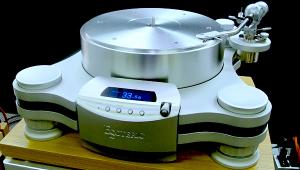
Brinkmann Audio Bardo turntable Page 2
Brinkmann uses the same platter bearing in his belt-driven 'tables. While in those designs the bearing is electrically heated, that's not necessary in the Bardo, he says—the motor's quiescent current produces enough warmth.
The Bardo's speed control is analog—Brinkmann felt that the radio-frequency interference from a digital system would degrade the sound. An optical reader measures the tachometer's strobe frequency, converts it to a voltage, and compares that to a temperature-stable variable reference voltage. Trim pots for the two speeds can vary the reference voltage, and thus the platter's speed of rotation, within a range of ±10%.
I appreciated that Brinkmann's technical descriptions of what he's done don't minimize the difficulties of designing belt- or direct-drive turntables, and that he claims perfection for neither of his designs.
The Bardo's Other Parts
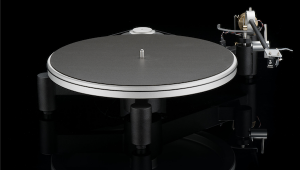
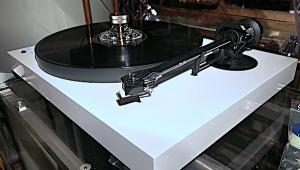
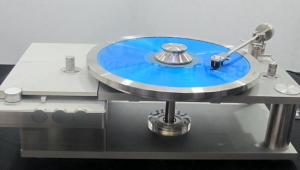
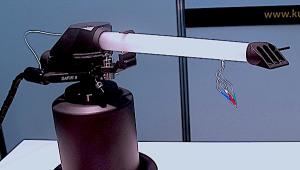
The self-contained motor and bearing system attaches to a substantial, resonance-optimized, tear-shaped, 16.4"- wide chassis of duralumin, to which are fitted three adjustable feet of machined metal. A circular platform accepts machined-aluminum armboard inserts that can be easily rotated to achieve the proper pivot-to-spindle distance with a wide variety of tonearms, before being secured with three locking bolts.
The chassis's far side holds a pair of RCA jacks (XLRs are an optional extra) that terminate in a DIN plug under the housing of the tonearm mount. An umbilical from the outboard power supply, which is housed in a nicely machined chassis, connects to a three-pin jack adjacent to the analog outputs.
The right side of the chassis, which lies underneath the platter, contains the two trim pots to vary the speed and the speed selector switch: Up selects 33.33rpm (the end of the switch glows green), down selects 45rpm (glows red).
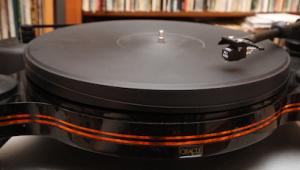
In every way, the Bardo's machining and overall fit'n'finish are Class A. As with the Balance, which I reviewed in May 2005, I literally couldn't see the platter spinning—and it continued spinning a long time after I switched off the power.
Setup and Use
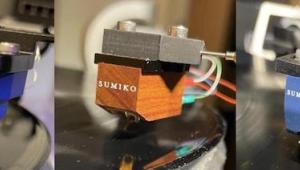
If you order the Bardo with the 9.6 and Pi, it will be delivered with the arm and cartridge already installed, even though there is no stylus guard. Not a problem, as you'll see when you unbox it.
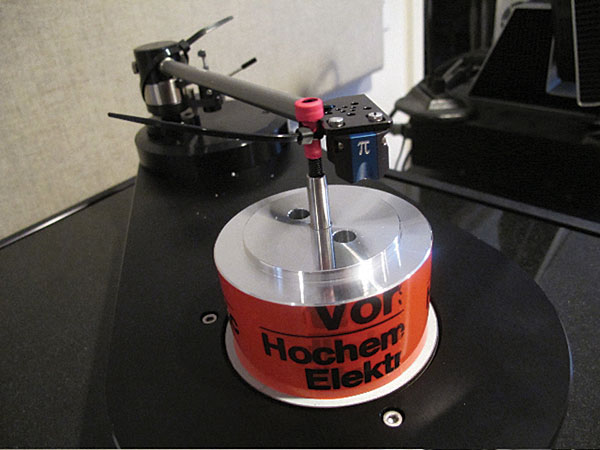
After carefully removing a black nylon tie that holds the arm tightly to a rod threaded into the spindle, you place the arm on its rest, then remove the threaded rod and the orange protective tape around the subplatter-and-bearing assembly. Carefully place the heavy platter on the subplatter assembly, level the turntable, add the counterweight to the back of the arm, set the tracking force, and in less than 30 minutes you're just about ready to play records. All that's left to do is connect your choice of output cables to your phono preamp, attach the umbilical to the power supply, and plug that into the mains. It doesn't get much easier—particularly for a sophisticated turntable with such high performance aspirations.
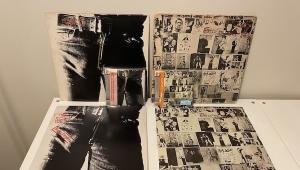
Place a record on the platter. (If you order the optional platter mat and clamp, you'll have to insert a washer into the recess around the spindle before placing an LP on the platter and apply the clamp.) Flip the switch to the correct speed, and you're playing records.
A word of caution: If you reach directly for the Bardo's on/off switch, your arm can easily collide with the stylus. It doesn't take long to get accustomed to reaching around the tonearm to get to the switch rather than directly toward it.
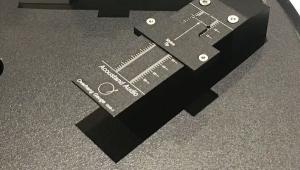
Brinkmann's specified pivot-to-spindle distance measured correctly per the latest Feickert gauge, but when I lowered the stylus onto the Feickert's overhang grid, it didn't line up with the scribe marks for the Lofgren, Baerwald, or Stevenson alignments. It was off by a few millimeters, which in this tiny world is a lot. I redid the overhang and zenith angle to conform to the Lofgren alignment, and contacted Brinkmann about this.
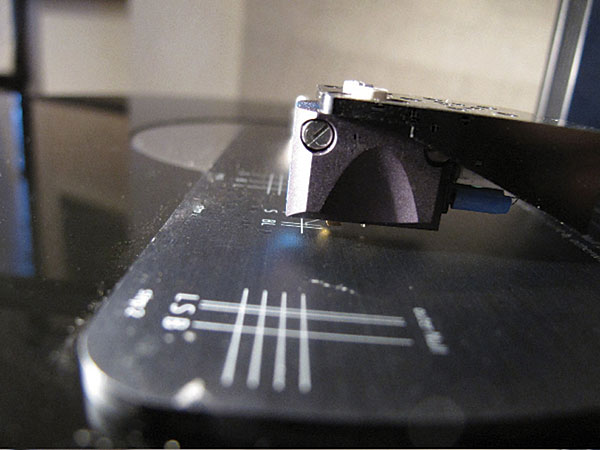
It turns out the original setting was deliberate. Brinkmann uses the Dennesen alignment protractor (in fact, he offers a nicely machined version of it) and a slightly different geometric methodology, describing the details of which space doesn't permit. As I say in my seminars on turntable setup, there are many ways of setting overhang to minimize tracking distortion. After our conversation, I returned the Pi's stylus to Brinkmann's preferred overhang position.
Using the Wally Tools Wallyskater, I found that the antiskating was set a bit too high—but again, skating is dependent on groove modulation, vinyl formulation, where on the record you measure it, and, for all I know, the day of the week. I suspect a modulated groove test was used to set antiskating; if that modulation was higher than what's found in typical musical signals, the setting will be too high.
When I checked the SRA with a digital microscope, I measured 90°, or 2° lower than what my experience has shown me is optimal. Raising the arm pillar 4° would produce an approximate 1° change in SRA, so I decided to raise it about 5mm, but not before listening to it as delivered. A digital oscilloscope and a Fozgometer (which in this case correlated well with each other) demonstrated that the Pi's azimuth had been set at the factory to perfection, which was fortunate—the 9.6 arm doesn't let you adjust azimuth.
Sound
With three new variables—a turntable, a tonearm, and a cartridge—it was at first difficult to determine which was contributing what to the sound. But it wasn't at all difficult to love that sound.
|
| ||||||||||


| Equipment Reviews | The Gruvy Awards | Blogs Analog Tips | Columns Music | Show Reports | News Resources |
 © 2026 AnalogPlanet
AVTech Media Americas Inc.
All rights reserved