


Our In-Depth Record Cleaning Primer: How to Find the Best Vinyl Cleaning Methods and Machines for Your Needs
Editor’s note: I asked one of my esteemed Stereophile colleagues, Miguel Barrio, to share his record cleaning expertise with you, my fellow vinyl fanatics, over here on Analog Planet in a longform primer that should answer any Qs you may have about the ins and outs of the process. Miguel also shares the stories behind his personal record cleaning quest and current RCM usage. This is his story, which we hope inspires your own record cleaning rituals. —Mike Mettler
When I got my first “nice” turntable — a used Rega P2 — while I was a graduate student in Physics at the University of Chicago in the late ’90s, I naturally got interested in what I could do to improve record playback. Cleaning my records — most of which, at the time, were from my childhood, or purchased used at 2nd Hand Tunes on the South Side of Chicago — was clearly an important part of that process, so I wanted to learn how to do it in the best way possible.
My first record cleaning machine (a.k.a. RCM) was a Record Doctor vacuum model, which I bought used on campus. It was small, very loud, and it did a fairly good job. For a time in my life, however, playing (and cleaning) records fell by the wayside in the wake of graduation, moves, work, and many other life circumstances. But in 2021, I got back into the vinyl rabbit hole, and I haven’t left it since.
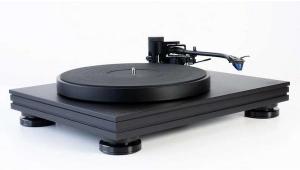
Upon my return to the land of vinyl, I bought my current turntable — an SME 20/3A with a Dynavector XV-1s cartridge. At that time, ultrasonic cleaning was the talk of the vinyl town, and I was curious. I started out with a generic ultrasonic RCM with an attachment that would spin the records around in the cleaning solution. Then came new, more automated, solutions that included Humminguru and Degritter models among its proprietors. What became clear to me was that cleaning records was, and is, not just about minimizing ticks and pops — it is also about extracting the most information possible out of the grooves.
My Cleaning Process
So how do I clean my own records, you ask? Well, as I briefly noted, over the years, I have used vacuum machines, special brushes and solutions, and many different ultrasonic RCMs. My first ultrasonic cleaner was a generic 40kHz vat with an attachment that would allow me to clean multiple records at once. This worked well, and for the money — about $150 — it was a great introduction to ultrasonic cleaning.
I purchased a Humminguru RCM right after the company launch in November 2021. That machine operates at 40kHz, and it washes and dries one record at a time. It has removable tanks, so it is possible to implement what’s known as a wash-then-rinse protocol with relative ease.
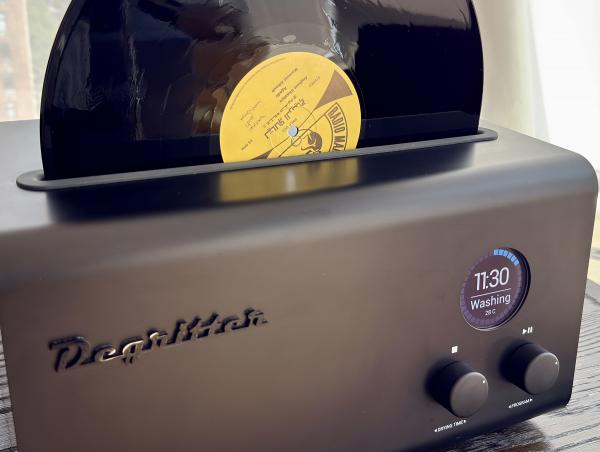
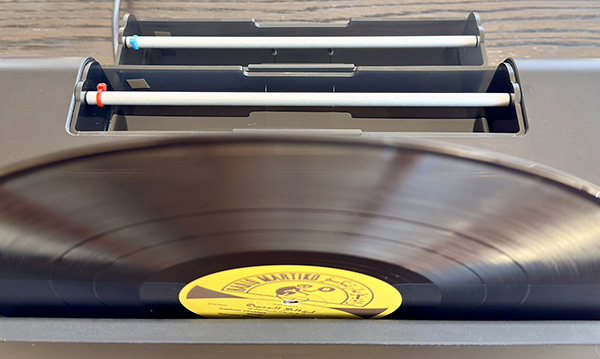
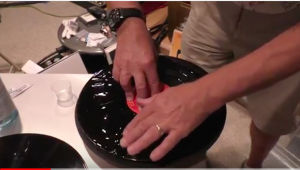
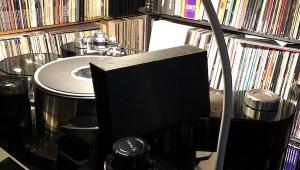
Out of sheer curiosity, I purchased a Degritter Mark I RCM shortly after getting the Humminguru. (You can see it in action at the very top of this story.) The Mark I operates at 120kHz, allowing the cavitation effect to get deeper into the groove. (I’ll discuss cavitation in more depth a little later on.) This RCM also has the option of using a guided wash-then-rinse protocol, which makes the two-stage process very streamlined.
The effect of removing ticks and pops was — on average — very similar among all the ultrasonic machines I have used, but the sound quality improvement — “sound optimization” as Perfect Vinyl Forever’s Steve Evans calls it — improved steadily with each machine upgrade. (I’ll talk with him in more depth later on in this story as well.)
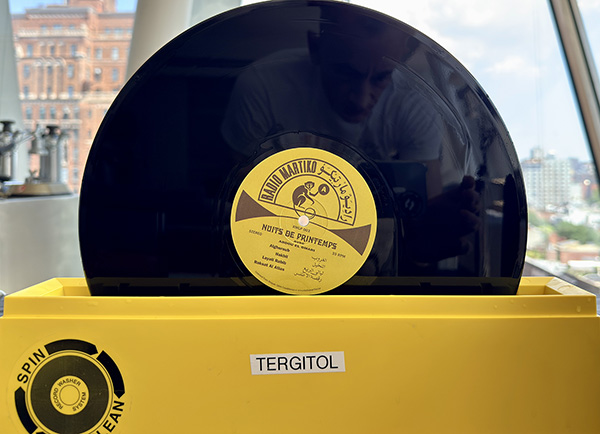
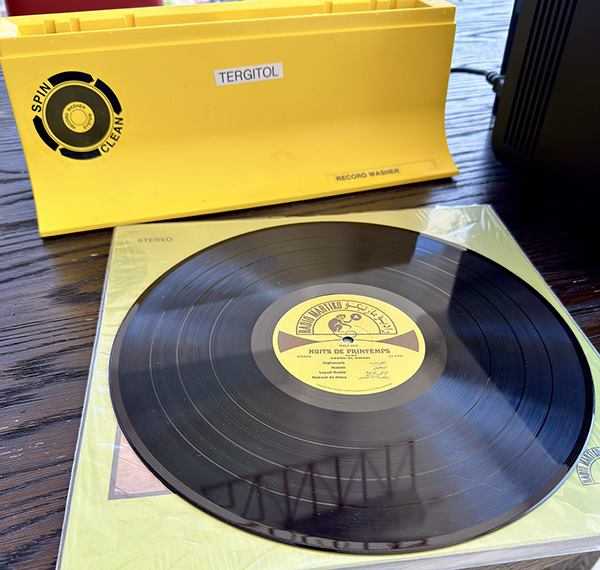
My current tools are a) a Spin-Clean model, which, as many of you likely know already, is a water-and-brush style machine that is simple and effective (and there are, of course, other manufacturers producing similar machines that work just as well); and b) the aforementioned Degritter Mark I ultrasonic RCM with two tanks — one for the wash cycle, and one for the rinse cycle. The tanks are easy to swap in and out without any water spills, and the Degritter guides you through the process.
As for the solutions I use in each stage, the Spin-Clean is loaded with distilled water, Tergikleen, and lab-grade isopropyl alcohol (2% concentration, by volume). The Degritter wash solution is distilled water and Tergikleen, while the rinse solution is just distilled water.
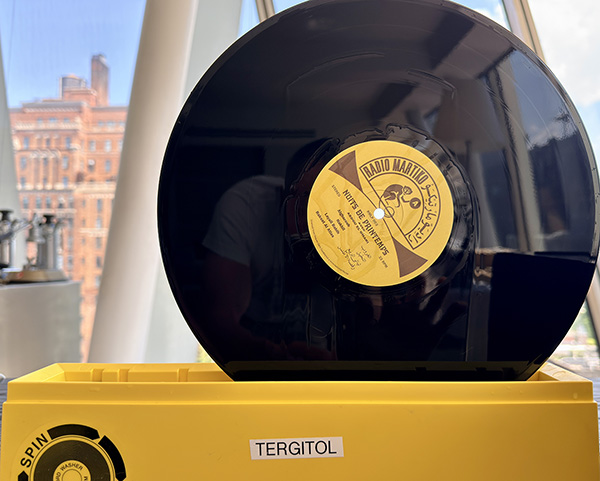
Tergikleen, for those of you who may not know, is a commercial product containing Dupont’s Tergitol (15-S-9 and 15-S-3) surfactant, and it is used with the manufacturer’s recommended concentration; go here for more on that. (I will also explain just what surfactants are a bit later on in this story.)
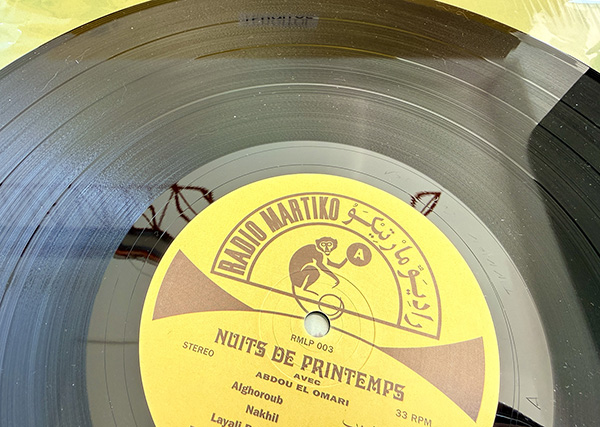
The process I follow depends on whether I’m cleaning new or used records. For new records, I use the Degritter wash-then-rinse process alone. For used records, I first run them through the Spin-Clean, which does a good job of removing visible dust and removing or softening fingerprints and mold — which, in turn, makes the vinyl cleaner for the ultrasonic machine steps. That is then followed by the same wash-then-rinse cleaning as in the case of new records.
At the end of the process, the Degritter dries the record with forced air, leaving you with a record that is ready to store in a new, clean inner sleeve — like the one seen below.
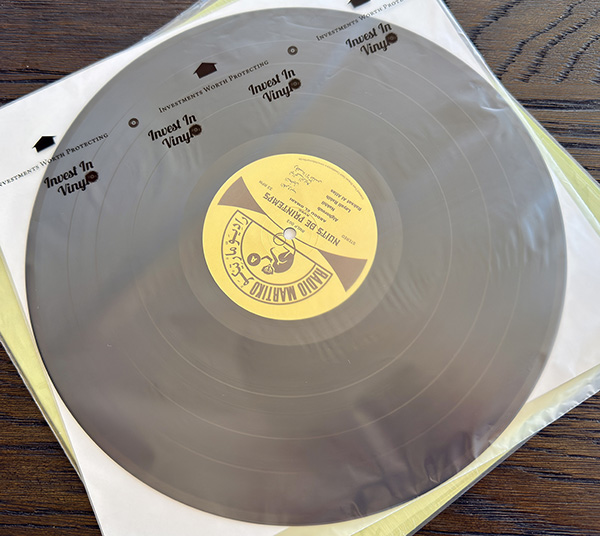
The result is clean vinyl that plays great, and leaves essentially no residue on the stylus. The fact that my stylus rarely needs to be cleaned is possibly one of the most objective indicators that the methodology does a good job of cleaning all dirt and contaminants off the record.
More importantly — once cleaned, if handled properly, those records will not need to be cleaned again.
So, now that you’ve seen how I do it, you probably have many questions about how I decided upon my record cleaning methodology, the equipment involved, and some of the terminology I used to describe the process. For the next portion of this story, I will address a number of basic questions you might have as you consider joining the RCM brigade.
What Is the “Best” Way to Clean Records?
Record cleaning is a subject of great controversy, with advocates for different methods and processes — but, regardless, our core objective here is to get as close as possible to the information in the original lacquer cut.
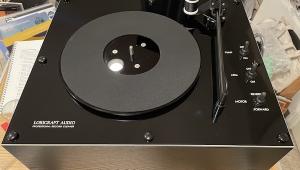
Record cleaning protocols can vary greatly, from washing vinyl in the sink with dish soap to spreading glue on the surface to Spin-Clean-style to vacuum machines to Loricraft-style to ultrasonic cavitation. Most of these methods will result in a reduction of surface noise and thus they garner advocates, sometimes fervent ones. Adding to the confusion is that every record is soiled differently, which makes comparing different methods somewhat difficult — and that leads us to our next question.
What Is Dirt?
To better define our cleaning objective, let’s classify the types of dirt into three broad categories — Large, Small, and In-Groove.
Large is visible dirt such as fingerprints, mold, and splotches — anything that is obvious to the naked eye, and is larger than the groove.
Small is dust, smoke deposits, and vinyl shavings from the pressing process. This would constitute any dirt that is roughly the size of the groove, which is about 50µm — i.e., just about the width of a human hair.
In-Groove refers to coatings and deposits inside the groove — chemical deposits on the groove walls such as PVC additives that surface during the record pressing process, leftover cleaning solutions, and any other chemical contaminants inside the groove. (Footnote 1)
It also stands to reason that different types of dirt are best removed by different methods. Look at it like this: If you are washing a muddy car, you would not use a polishing cloth as your first step; you would first take care of the mud with water and soap, then polish your car with a cloth and wax. Most record cleaning methods — brushing with a cleaning solution, using a Spin-Clean unit, vacuum machines, and other methods — will remove large and small dirt.
However, in my experience — and that of many others — in-groove dirt is hard to remove with anything but an ultrasonic RCM. In turn, ultrasonic cavitation is often less effective at removing large dirt, especially fingerprints and mold.
Before we go further, let’s establish one overarching principle: Any cleaning process must also remove dirt in addition to all chemicals we have used in the interim, if any. And if any chemicals are used to enhance cleaning, the process will need to have a rinse stage in which all those chemicals are removed.
What Is Ultrasonic Cavitation?
Ultrasonic cavitation is the most effective tool to clean vinyl records. It is the only method that effectively removes in-groove contaminants. It can also be effective at removing large and small dirt, with the appropriate protocols.
In ultrasonic cavitation, small water-vapor bubbles are created in the bath. These bubbles are unstable and collapse violently, producing strong jets that have the effect of dislodging dirt off the hard surfaces of a vinyl record.
How do these bubbles get created? Imagine you have water in a sealed container at room temperature. If you lower the pressure in the container below what is known as the “vapor pressure,” liquid water will become water vapor. (Footnote 2) Sound waves involve regions of high and low pressure that propagate through air or water. If sound waves are loud enough, the low-pressure regions will reach the vapor pressure of water, resulting in water-vapor bubbles being formed in these regions.
This is how ultrasonic cavitation creates bubbles in the water: High-frequency sound waves of enough intensity create unstable bubbles of water vapor, which then collapse producing high-powered jets that dislodge dirt. Moreover, bubbles created close to hard surfaces — like a vinyl record — collapse producing jets directed towards the surface, enhancing their cleaning effect. (Footnote 3)
What’s the Cavitation Frequency, Kenneth?
Most ultrasonic record cleaning machines use a cavitation frequency of about 40kHz. One of the above-noted RCM brands, Degritter, works at 120kHz, and there might be some working at other frequencies. The ultrasonic frequency determines the size, number, and energy density of the bubbles produced. (Footnote 4)
Machines operating at 40kHz produce bubbles that are about 164µm in diameter. (Footnote 5) This is larger than the average groove width of about 50µm. These bubbles are higher in energy and do a good job cleaning large and small dirt, but don’t do as good a job with in-groove contaminants. At 120kHz, the bubble diameter is about 54µm, which is comparable to the groove width, and their density — bubbles per unit volume — is higher. These smaller bubbles do a better job of cleaning in-groove dirt, but they are not as good with large dirt compared to the 40kHz machines, because each bubble produces less energetic jets.
There is some concern among audiophiles regarding ultrasonic cavitation damaging vinyl. Cavitation cleaning is an important subject of research, as it is used in the medical and semiconductor industries. In fact, there’s an entire journal — Ultrasonics Sonochemistry — dedicated to the topic. The impact of ultrasonic cavitation on PVC has been thoroughly studied. (Footnote 6)
Long story short: Cavitation frequencies below approximately 30kHz produce bubbles with jets strong enough to damage PVC — while at higher frequencies, each bubble’s burst jets are not strong enough to produce noticeable damage. Additionally, frequencies above 500kHz produce OH (hydroxyl) groups, making the water acidic, which should be avoided.
The conclusion from this research is that the region between 40kHz and 500kHz is optimal for PVC cleaning. The choice to be made is whether we want to optimize cleaning for bigger dirt using 40kHz or target deeper in-groove contaminants with higher frequencies. Surely some in-groove contaminants will be cleared by a 40kHz cavitation, but this is not the optimal cavitation frequency for removing these contaminants.
What About Surfactants?
Surfactants are compounds that reduce the surface tension of water. Most cleaning solutions have some form of surfactant in them because the lower surface tension enables the water to go deeper into crevices, resulting in better cleaning action. In ultrasonic cleaning, this allows the water jets to get deeper into the groove and facilitate particle removal by reducing their surface bonds. (Footnote 7)
If you are to use surfactants, it is important to fully rinse them out. This means any such cleaning process will require a subsequent rinsing step.
The use of higher frequencies such as 120kHz and above is also important in the cleaning step because the cavitation bubbles at 120kHz are the size of the groove as opposed to three times bigger, as is the case with 40kHz.
Most ultrasonic machines use a design such that a two-step wash-then-rinse process is not practical. Machines with liquid in a vat that remains in place, or with a design that allows for only one cleaning solution, will not accommodate a wash-then-rinse protocol. In these cases, a pure water solution is the only way to go. Additionally, if only a pure water process is viable, the choice of 40kHz makes the most sense, as it will remove large and small dirt effectively.
However, in my experience, a pure water process at 40kHz will not do as thorough a job cleaning in-groove contaminants compared to a two-step wash-then-rinse process at higher frequency.
Lastly, the surfactant choice and concentration should be considered carefully. It is important to be able to fully rinse the surfactant, and it is also important to not have too much surfactant in the water, as it can adversely affect the formation of cavitation bubbles. (Footnote 8)
What About Alcohol?
Alcohol — such as isopropyl and ethyl — can safely be used on vinyl, especially in low concentrations at room temperature, as shown in PVC Chemical Resistance Charts. (Footnote 9) The impact of ethyl alcohol on plasticized PVC has also been studied, and the conclusion is there is no risk of damage in low concentrations at room temperature. (Footnote 10)
For my own record cleaning, I use lab-grade — i.e. highly purified — isopropyl alcohol. A small 2% concentration will lower water’s surface tension by about 28% of what Tergitol can achieve, improving both washing and rinsing effectiveness. And since high purity alcohol evaporates completely it will leave no residue behind, making it safe to use in a rinse step. Additionally, alcohol has antimicrobial properties which should help remove mold and other microorganisms.
However, after all the research I have done for the purposes of this article, I decided to avoid using alcohol in all ultrasonic cleaning solutions. Why? The research indicates that temperature plays a role in the safety of alcohol on PVC — it is safe at room temperature but becomes less safe as the temperature increases. Temperature is effectively particle motion; the higher the temperature, the higher the mean velocity of particles in a liquid. The high-speed jets created during cavitation are akin to high-speed particles in a high-temperature liquid. My conclusion is to avoid alcohol in ultrasonic solutions — if anything, out of caution.
Talkin’ PVF
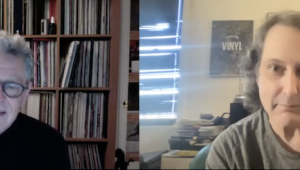
Steve Evans runs Perfect Vinyl Forever (PVF), a notable record cleaning service. (You can click on the above videoclip to see my interview with Steve on our YouTube channel, which posted just a day ago on July 6, 2026.)
PVF has been in business for 8 years and has cleaned over 200,000 records for clients. What I find most interesting about Evans and the PVF process is that his thought process and resulting cleaning protocols have been carefully considered, tested, and fine-tuned over time, while agreeing with what cavitation cleaning science has so far discovered.
Steve’s main objective, and one that I have experienced since I have used ultrasonic cleaning, is that of “sonic optimization.” This is equivalent to “increasing the resolution of your vinyl record” because the removal of all dirt — especially the in-groove contaminants — has the effect of lowering the noise floor and improving the stylus-groove contact, resulting in more information retrieval. This is particularly noticeable when cleaning new pressings, which usually don’t evidence much in terms of ticks and pops. The effect of cleaning is a noticeable improvement in sound quality due to the removal of coatings on the groove walls, resulting in better tracking of the actual information in the groove.
PVF’s “Archival” cleaning process involves cavitation cleaning using surfactants — with frequencies from 40kHz to 220kHz — and a final cavitation rinse with pure water. A more thorough “Disaster Recovery” process adds an initial overnight soak in a cleaning solution that is intended to soften record contaminants so that they can be better dealt with in the cavitation cleaning stages.
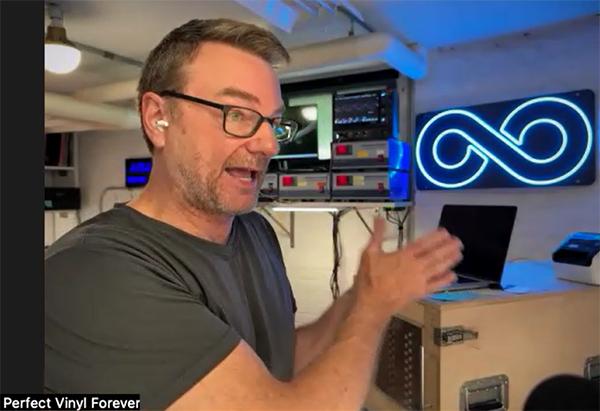
According to Evans (shown above), “the use of multiple frequencies is like the use of different sandpaper grits in woodworking.” Lower frequencies remove larger dirt, while higher frequencies can get into the groove and remove in-groove contaminants, increasing the ability of the stylus to follow the groove modulations thus improving the resolution of the media. Evans also said that “the physical cleaning power of cavitation is ten times that of chemistry,” and “Detergents and surfactants primarily create ideal conditions for the formation and application of cavitation to the substrate [vinyl].”
Evans added that the choice of surfactant is not that critical — what is critical is that it is a surfactant that effectively lowers the surface tension of water and can be fully removed in the rinse cycle. As for alcohol, as shown in those earlier noted PVC Compatibility Charts, it has no detrimental effects on PVC. However, Steve does not currently find it beneficial overall in the cleaning or rinsing processes, except possibly in the improvement of drying time. For this, a high-purity alcohol should be used in the rinse so that no residue is left behind.
My Final Record Cleaning Recommendations
If you’re using a Spin-Clean model, consider getting a second one for rinsing.
If you have a vacuum or Loricraft-style machine, run a final rinse cycle with pure water. In both cases, if the platter onto which the record lies extends beyond the label, ensure that you don’t lay a cleaned side onto a dirty platter. The simplest solution here is to have a mat that is clean that you lay onto the platter before placing a cleaned record side onto it.
Finally, if you’re using an ultrasonic machine with a one-step design, I recommend you use surfactant in the ultrasonic bath followed by a thorough rinse — either in a Spin-Clean, the sink, or possibly a vacuum machine, if you have one. This process will afford you the benefit of deeper ultrasonic penetration into the groove while removing all chemicals in the rinse stage. And if you want to avoid surfactants in the ultrasonic machine at all costs, another possible improvement is to run the record through a Spin-Clean with surfactant followed by the ultrasonic rinse.
More than anything, as this story comes to a close, let me say this — have fun with whichever record cleaning process you choose so that you can enjoy better-sounding vinyl with every side you spin! Happy cleaning, everyone.
AP editor Mike Mettler adds: Two quick things before we get to Miguel’s detailed footnotes and his list of associated gear! First, one of my other esteemed colleagues, Stereophile editor Jim Austin, shares some insightful record cleaning tips and recommendations of his own in a pair of notable, recent “As We See It” columns. The first one can be accessed here, and the second one can be found here.
Second, if you have any record-cleaning methodology and/or RCM-related Qs for Miguel, you can ask them in the Comments section underneath his interview with PVF’s Steve Evans on our YouTube channel here, and he’ll do his best to answer them in a reasonable amount of time.
Footnote 1: “PVC additives” refers to plasticizers, fillers, lubricants, and other compounds added to the PVC used in record pressing to achieve the optimal physical properties. They’re malleable enough to be pressed with fidelity to the mold, but strong enough to withstand use, and each vinyl producer has their proprietary formulations.
Footnote 2: You can find an explanation of this process here.
Footnote 3: This is likely due to the “impedance” of the liquid close to the surface being higher, so it is more likely that liquid will flood into the vapor bubble from the side opposite to the hard surface. For examples, go here, and here.
Footnote 4: The Degritter machines operate at 120kHz. The company’s literature indicates that the bubble diameter is 2.5µm, but this is incorrect. When I contacted the Degritter team about this, they acknowledged the error.
Footnote 5: The average radius of a cavitation bubble is given by Minnaert’s formula, which, for water at sea-level pressure, is approximately R = 3.26m/s / Frequency. So, if Frequency = 40kHz, the radius is 82µm, and the diameter is 164µm; if Frequency = 120kHz, the radius is 27µm, and the diameter is 54µm.
Footnote 6: Go here for more.
Footnote 7: For further in-depth analysis, go here. For even more, also go here and here.
Footnote 8: Surfactants lower the surface tension of water until they reach the CMC (Critical Micelle Concentration), after which they don’t lower surface tension any longer. It is advisable to keep surfactant concentration at the CMC level so that the effect is maximal while less surfactant needs to be rinsed out.
Footnote 9: Check out a PVC Compatibility Chart, e.g. this one.
Footnote 10: Go here for more.
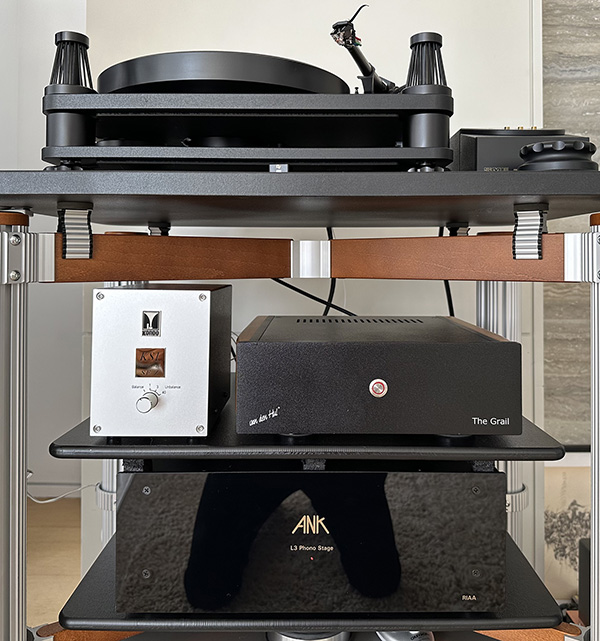
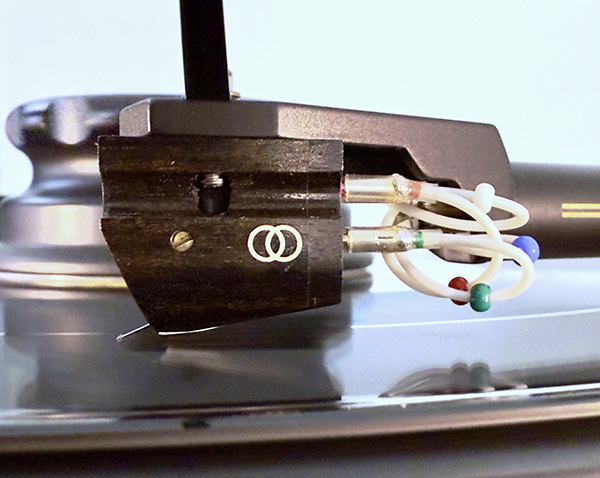
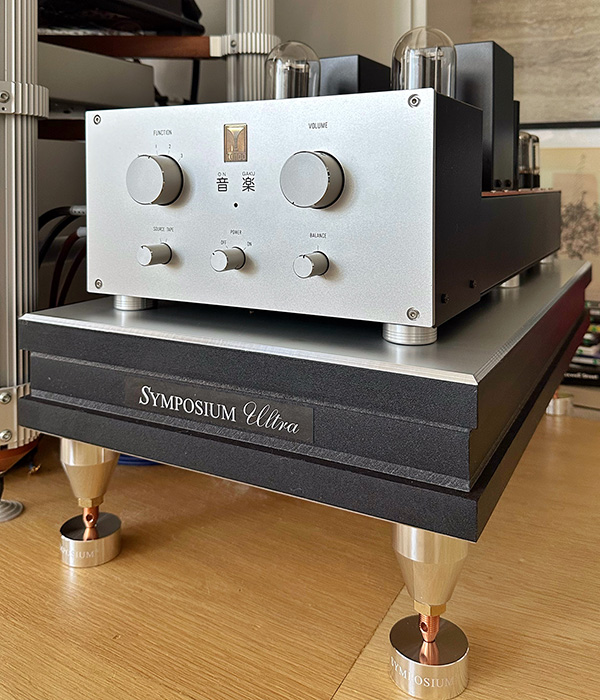
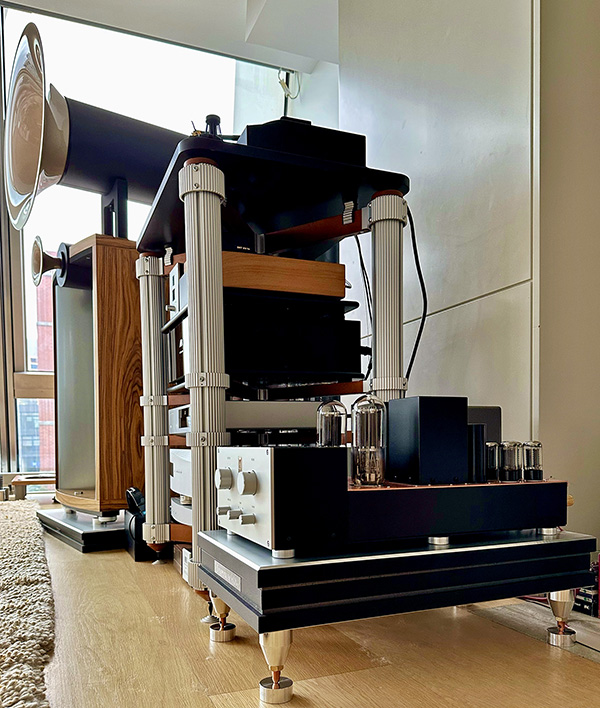
Loudspeakers: Avantgarde Acoustic Duo Mezzo G2.
System cables: Digital sources: AudioQuest WEL Signature (AES3); AudioQuest Carbon (AES3); AudioQuest Diamond (RCA); AudioQuest Carbon (RCA, USB); Cardas Parsec (BNC). Analog sources: Crystal Cable phono (DIN/RCA); Kondo KSL-LPz (RCA); Kondo Ls-41 (RCA); AudioQuest Thunderbird (RCA); AudioQuest Black Beauty (RCA). Speaker cable: Kondo KSL-SPz. Power cable: Kondo Avocado; Shunyata Venom; AudioQuest Tornado HC.
Accessories: AudioQuest Niagara 5000 power conditioner; Solid Tech Rack of Silence equipment rack; Symposium Super Plus custom speaker bases; Symposium Ultra custom amplifier stand.





















 |
Equipment Reviews | |
The Gruvy Awards | |
Blogs Analog Tips | Columns Music | |
Show Reports | |
News Resources |
 © 2026 AnalogPlanet
AVTech Media Americas Inc.
All rights reserved