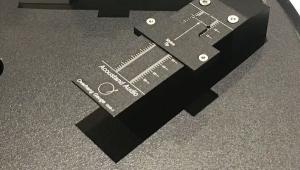
Setting "Overhang" Using a "Double Null Point Grid" Type Alignment Gauge

If your turntable is one that's factory supplied with the arm, chances are very good that distance will be correct. If your 'table has the armboard drilled by a dealer or the person from whom you bought the 'table used, measure the distance and be sure it meets spec! You can find out pivot to spindle distances on the the vinyl engine.com website.
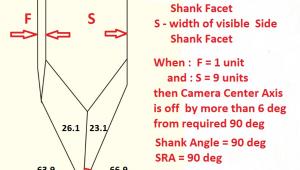
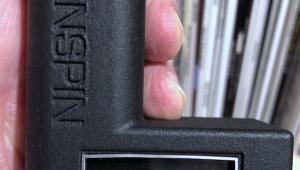
This gauge sets the "overhang". The "overhang" is the pivot to spindle distance plus the amount the stylus literally "overhangs" beyond the spindle. The arm's "effective length" is the pivot to spindle distance plus the overhang. If your arm allows, you can actually move it so the tube rests on top of the spindle and the distance from there to the stylus tip is the "overhang", which is usually also specified in the arm's specs. It's usually around 16 or 17mm for a 9" tone arm.
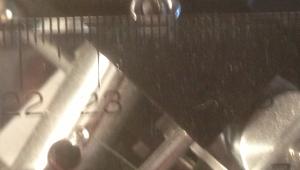
The gauge shows the two "null" points where there is zero tracking error (the stylus is tangential to the groove) if you accurately set up the stylus!
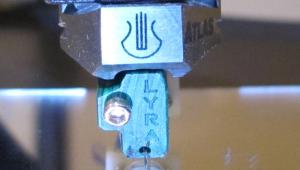
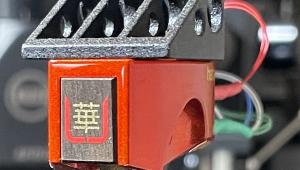
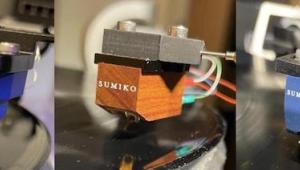
To begin, once you've installed the cartridge mid-way in the head shell and set tracking force close to the midrange of the suggested tracking force, put the gauge over the spindle and carefully lower the stylus onto the "X" mark on the gauge (it's hidden under red stylus in the graphic. Rotate the gauge as needed to accomplish this.
Then carefully twist the cartridge in the head shell (loosen the screws slightly if necessary) until the cantilever (red line) is parallel to the hashmarks and the stylus is centered on the "X".
Now carefully lift the stylus using the cueing lever and move the arm to the inner grid (of course you'll have to move rotate the gauge). Align the gauge so the the cantilever is again parallel to the hash marks.
If upon doing so, the stylus tip rests on the "X" you are done! But that almost never happens! Usually it will be in front of or behind the "X". If it's in front of the "X" move the cartridge slightly back in the head shell and start over. If it's behind the "X" move it slightly forward and start over.
Continue doing this until the stylus sits precisely in the "X" and the cantilever when viewed from directly in front, is parallel to the hash marks. Or do it until you want to tear the hair from your head in frustration, at which point just take a break and then resume.
When you are done, re-set your tracking force and then check the two grids again. If it's off, start over! If you didn't have to move the cartridge much in the head shell you should be done!


| Equipment Reviews | The Gruvy Awards | Blogs Analog Tips | Columns Music | Show Reports | News Resources |
 © 2026 AnalogPlanet
AVTech Media Americas Inc.
All rights reserved